Welcome to Tronic Cloud Voice AI
This guide walks you through everything you need to get your AI voice agent answering calls — from logging in and finding your phone number, to creating an agent, switching it on, pointing your number at it, and making your first test call. Every step has a screenshot. Click any image to enlarge it.
1. Logging in
How to get into your Tronic Cloud dashboard the first time and after.
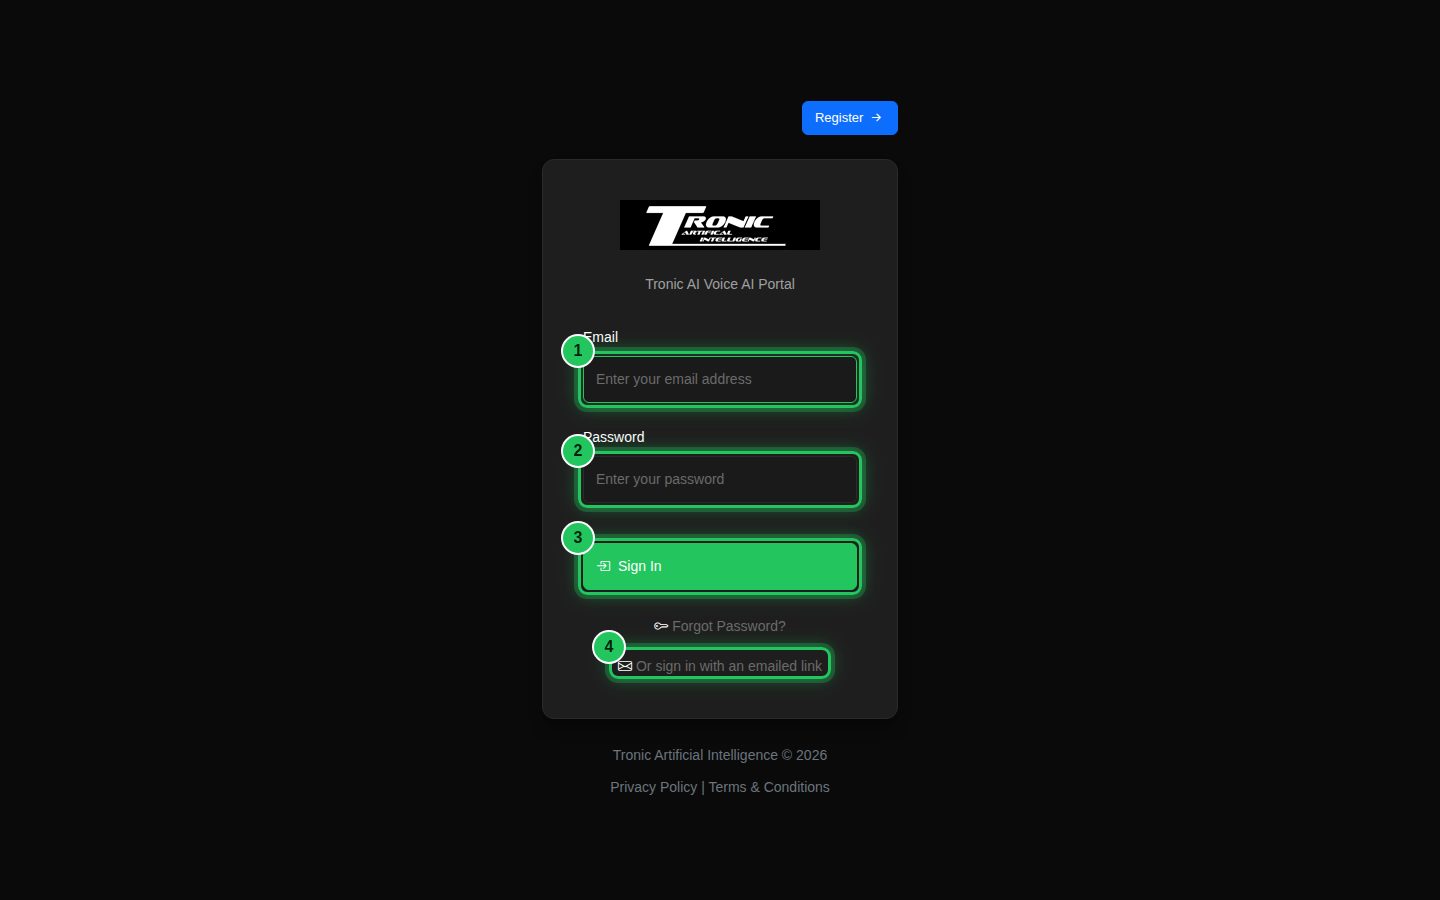
1 Open your welcome email and set a password
When your account is created you receive an email titled “Welcome to Tronic Cloud — your phone number is ready”. Click the secure link inside to choose your password. After that, you log in any time with your email address and password.
2. Your dashboard
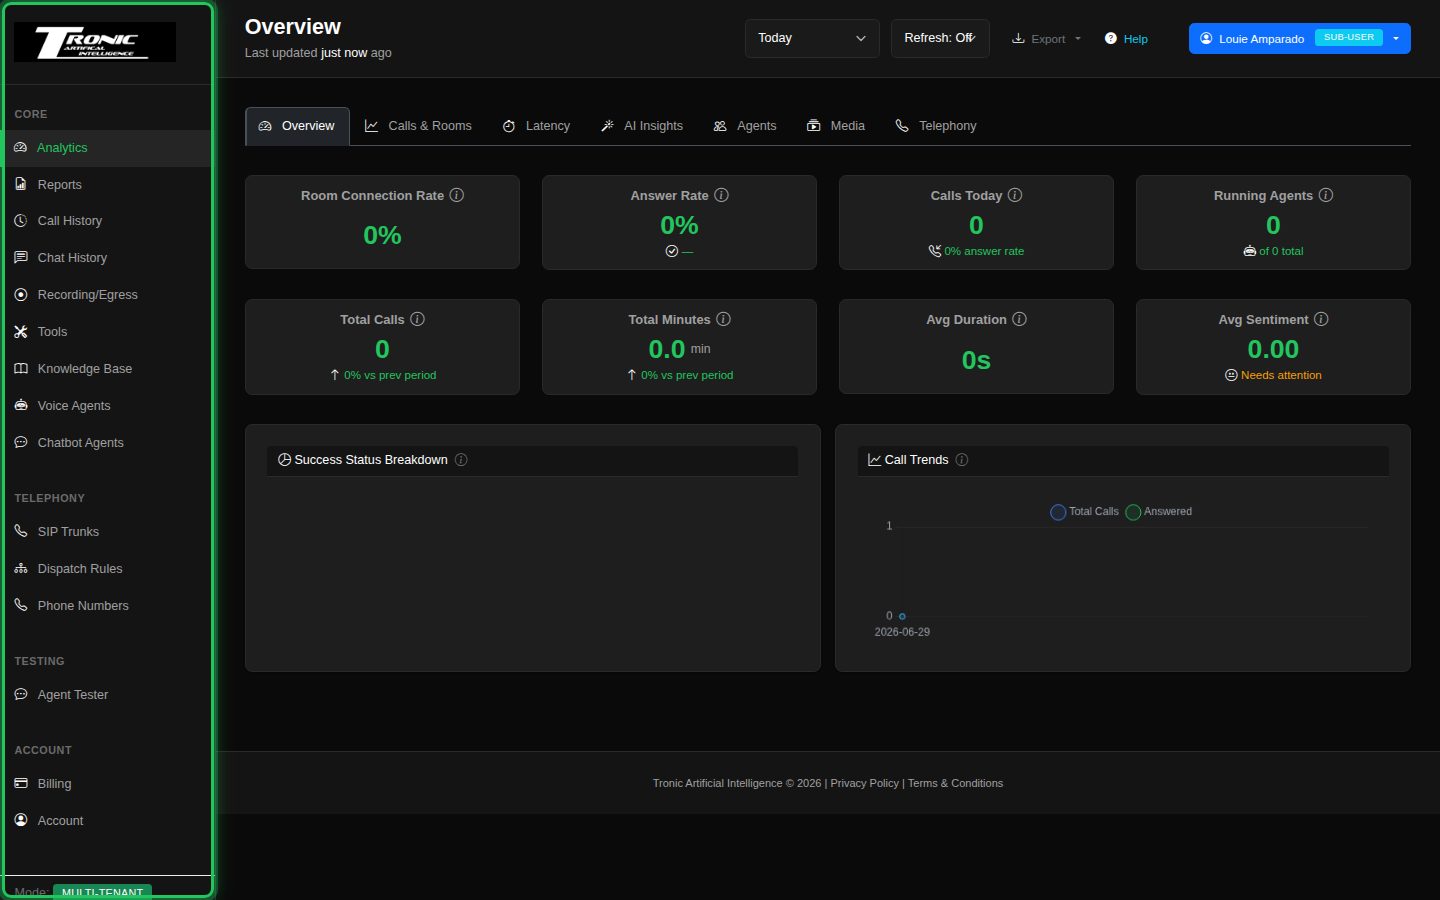
The overview page you land on after logging in.
2 Get your bearings
The menu on the left (highlighted) is how you move around the dashboard. The main area shows your call activity, usage and costs at a glance. Don’t worry if your numbers are all zero to start — they fill in once calls come through.
3. Your phone number
Where to find the phone number that was set up for you.
3 Open Phone Numbers to see your number
Click Phone Numbers in the menu (under Telephony). Your dedicated number is listed here — this is the number callers ring to reach your agent. The small icon beside it copies it to your clipboard. Your number was also included in your welcome email.

4. Create your first agent
Your “agent” is the AI that answers the phone and talks to callers.
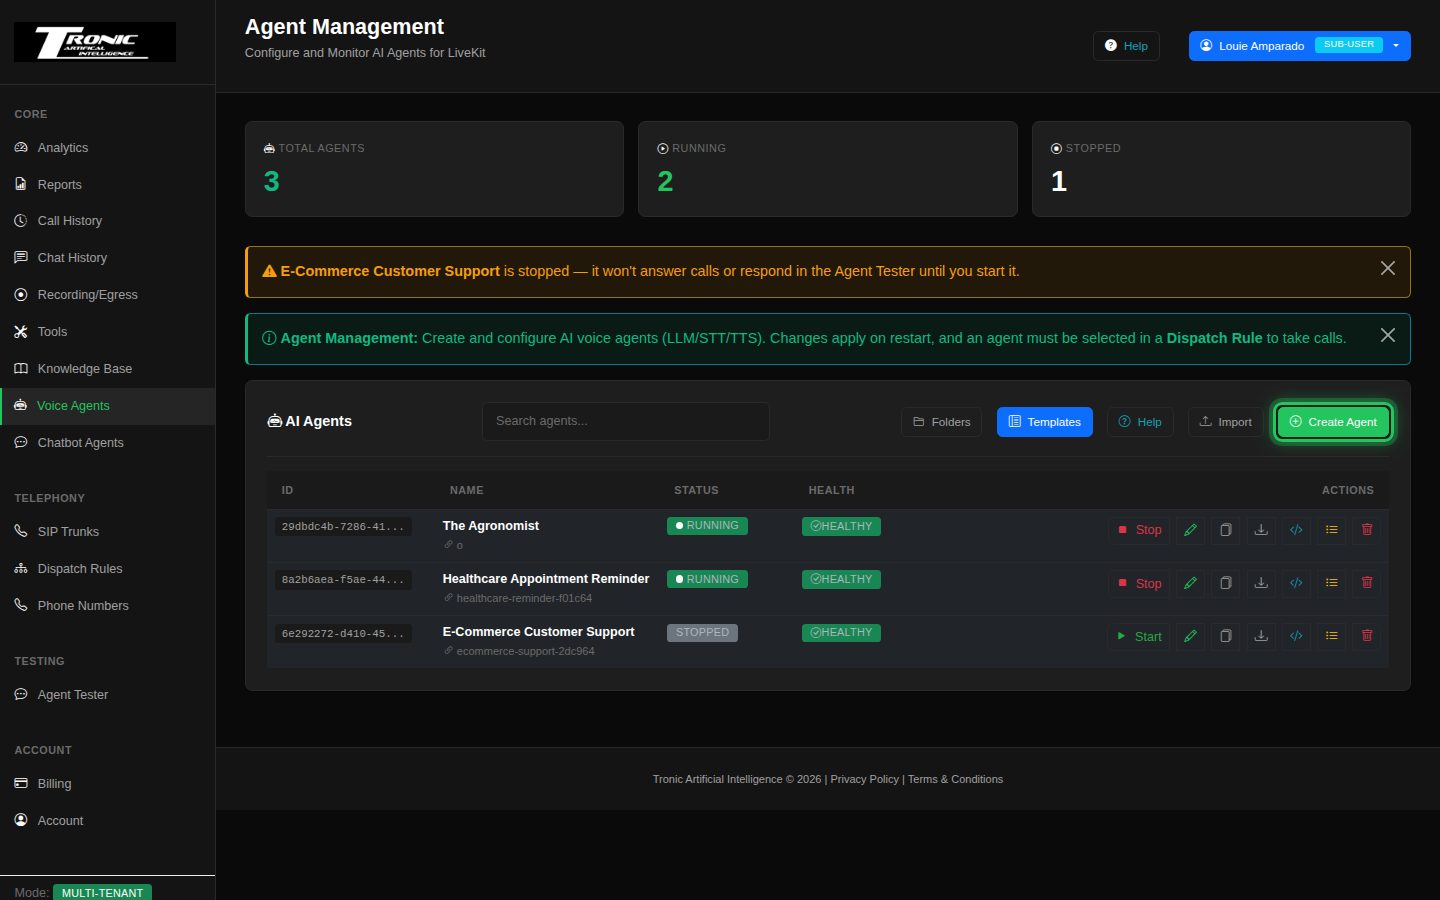
4 Open Voice Agents and start a new agent
Click Voice Agents in the menu, then the green Create Agent button (top right).
4b Give it a name, a greeting and instructions
Tell the agent who it is and how to behave:
- 1 — Agent Name: a name for your own reference.
- 2 — Initial Greeting: the first thing it says when it answers a call.
- 3 — System Prompt: its instructions — its role, what it should do, and any rules to follow.
The other tabs (Behavior, Speech Recognition, Voice, Advanced) let you choose the voice and AI models, but sensible defaults are already selected — you can leave them as-is to start.

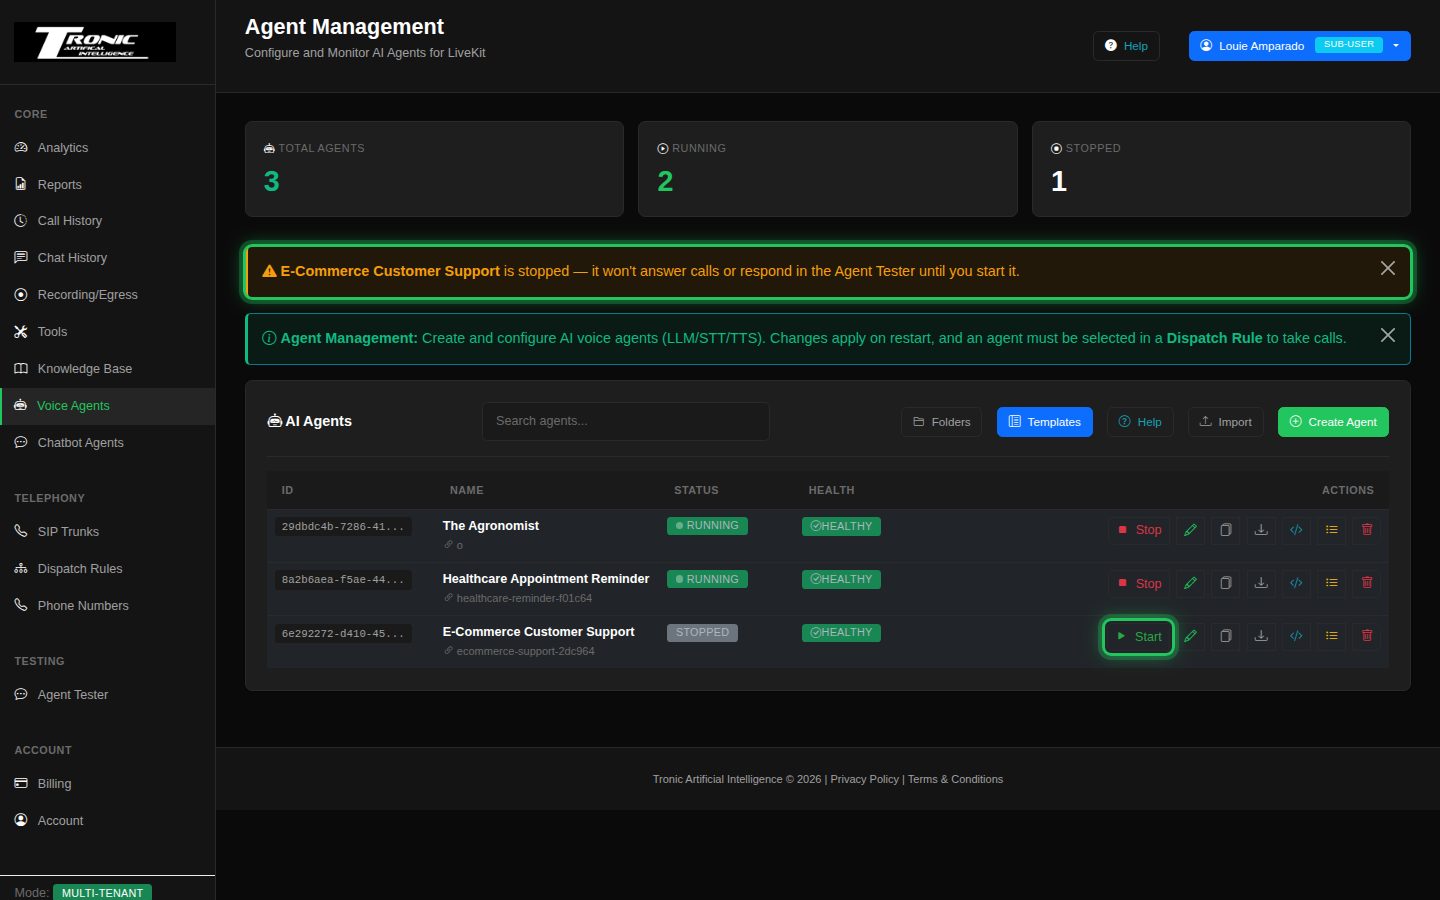
5. Start the agent
5 Click the green Start button
On the Voice Agents list, find your agent and click the green Start button. Its status changes to RUNNING. If an agent is stopped, the dashboard shows a yellow reminder (top) — that’s your cue to start it.
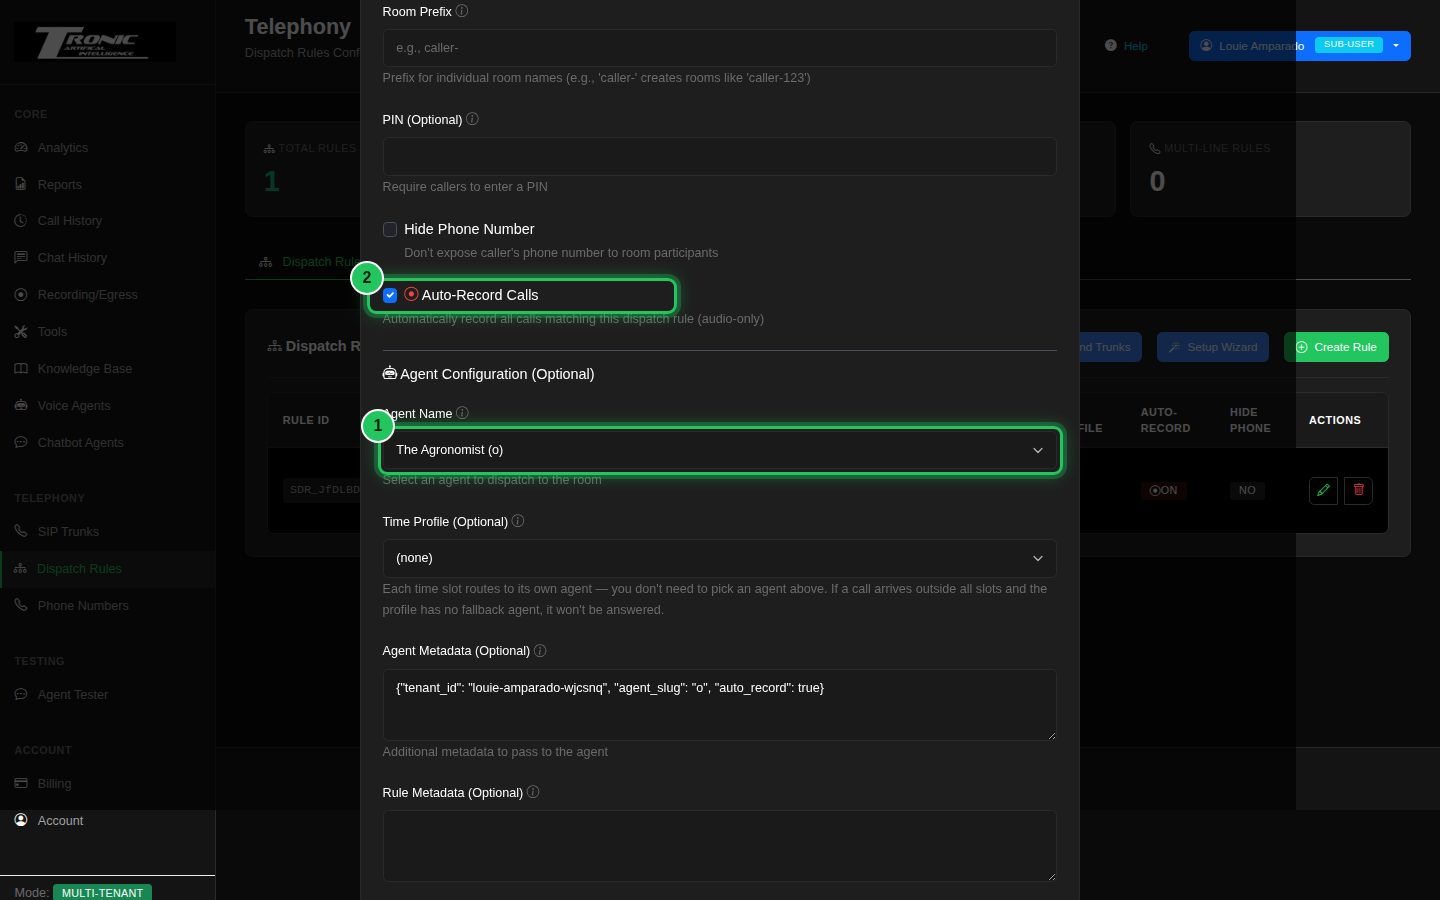
6. Point your number at it
Connect your phone number to the agent so incoming calls reach it.
6 Open Dispatch Rules and choose your agent
Go to Dispatch Rules (under Telephony). A rule for your number is already set up for you — click the pencil to open it, then:
- 1 — Agent Name: choose the agent you just started.
- 2 — Auto-Record Calls: tick this if you want calls recorded (optional).
Click Save. Your number now sends calls to that agent.
7. Make a test call
Ring your number from any phone and talk to your agent.
7 Call your number
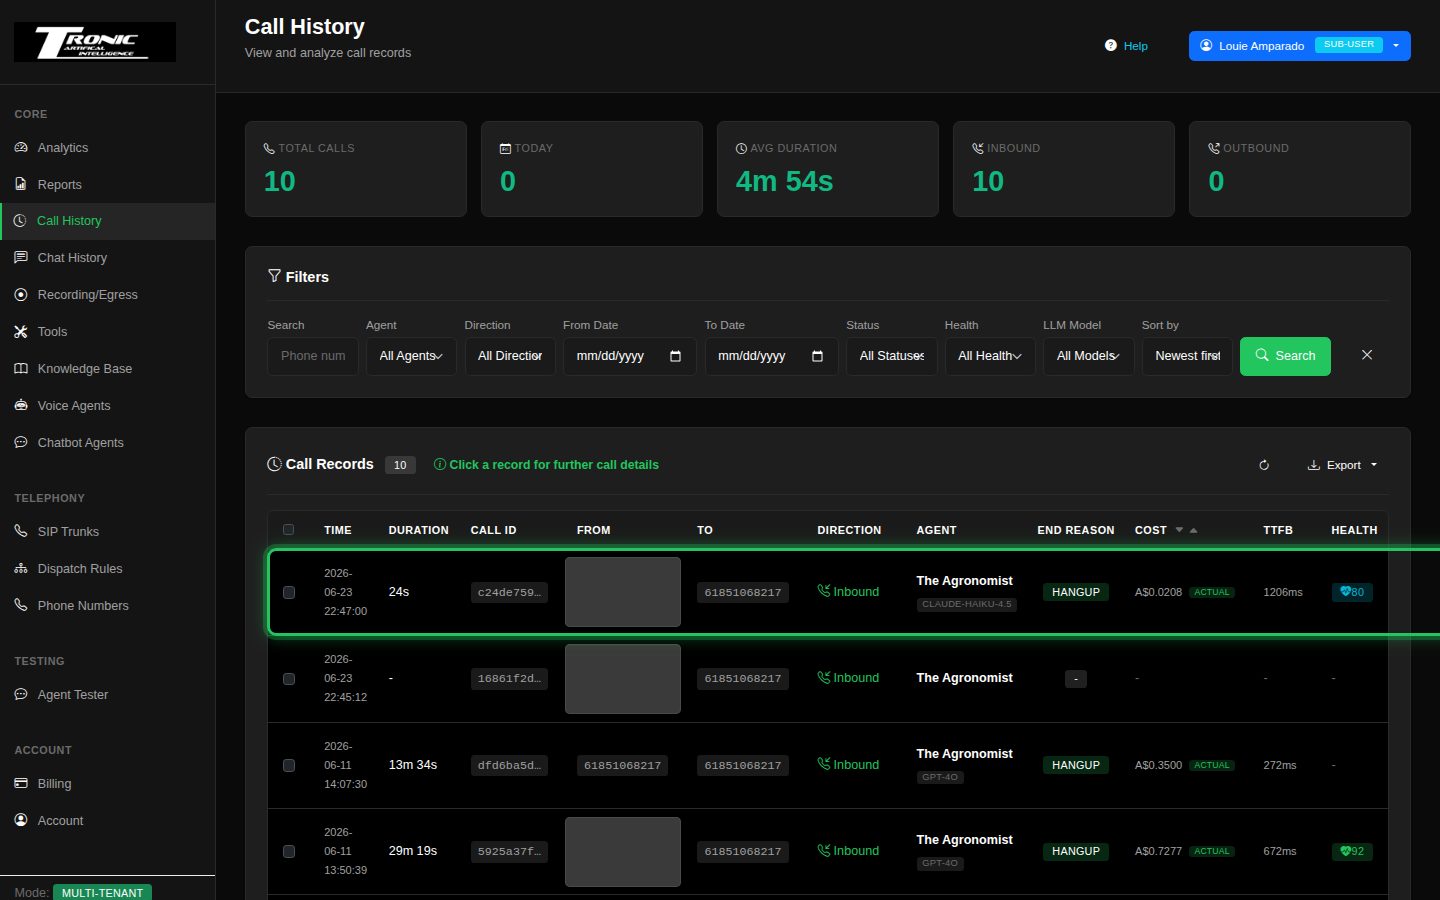
Dial your Tronic Cloud number (the one on the Phone Numbers page) from your mobile. Your agent should answer with the greeting you set. Every call then appears in Call History with a recording and summary.
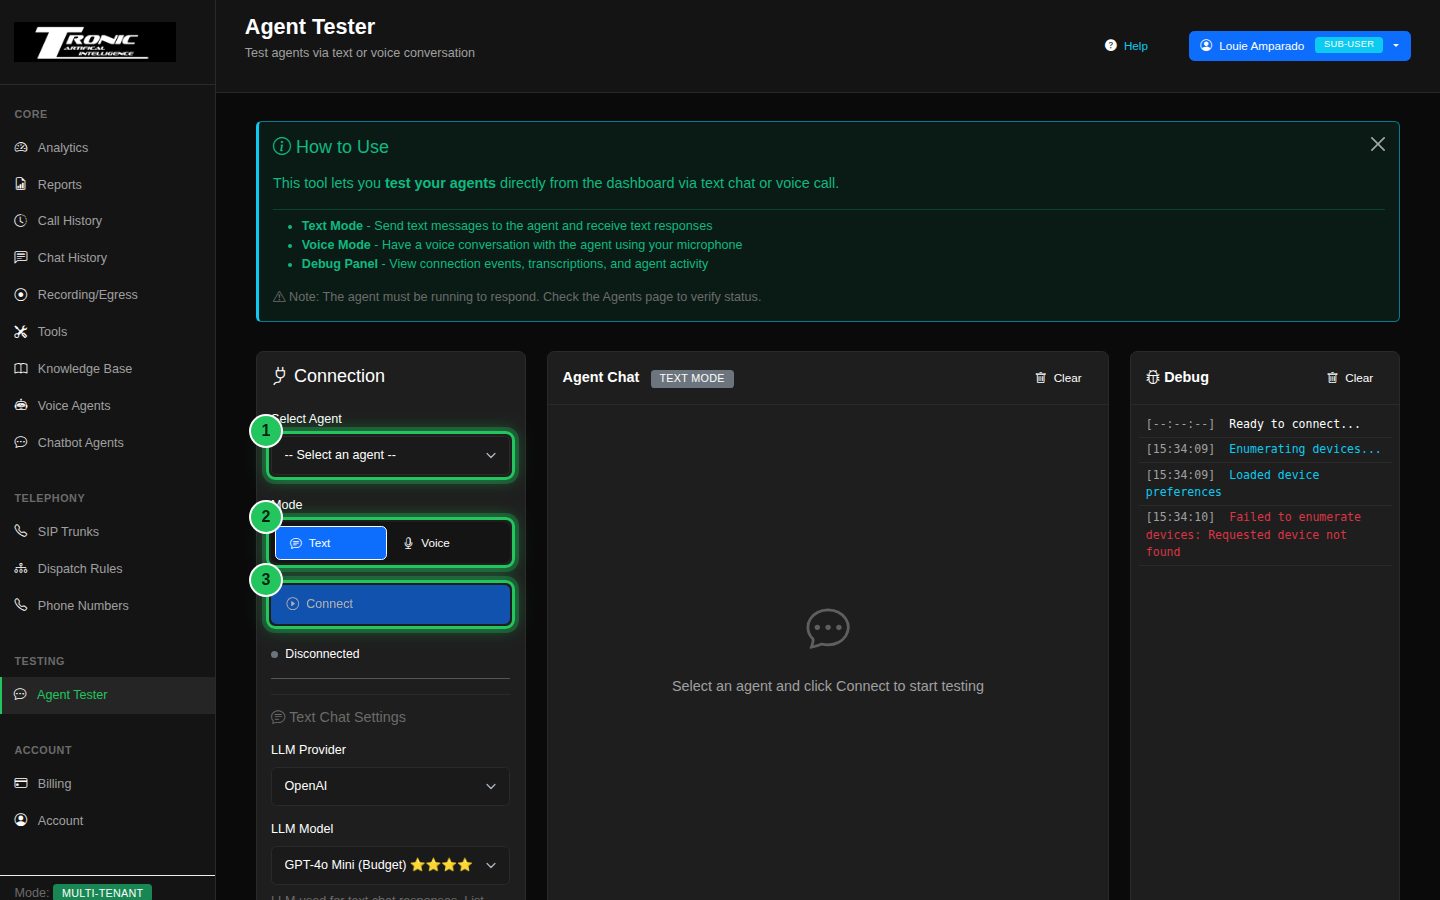
8. Try it in the browser
Prefer not to use a phone? Test the agent right inside the dashboard.
8 Use the Agent Tester
Open Agent Tester (under Testing) to chat or talk to your agent right in the browser — handy for trying changes before they go live:
- 1 — Select Agent: choose the agent to test.
- 2 — Mode: pick Text (type) or Voice (use your microphone).
- 3 — Connect: start the test session.
The agent must be started (Step 5) to respond.
Voice Agents
A closer look at the agent editor and the settings you’ll use most.
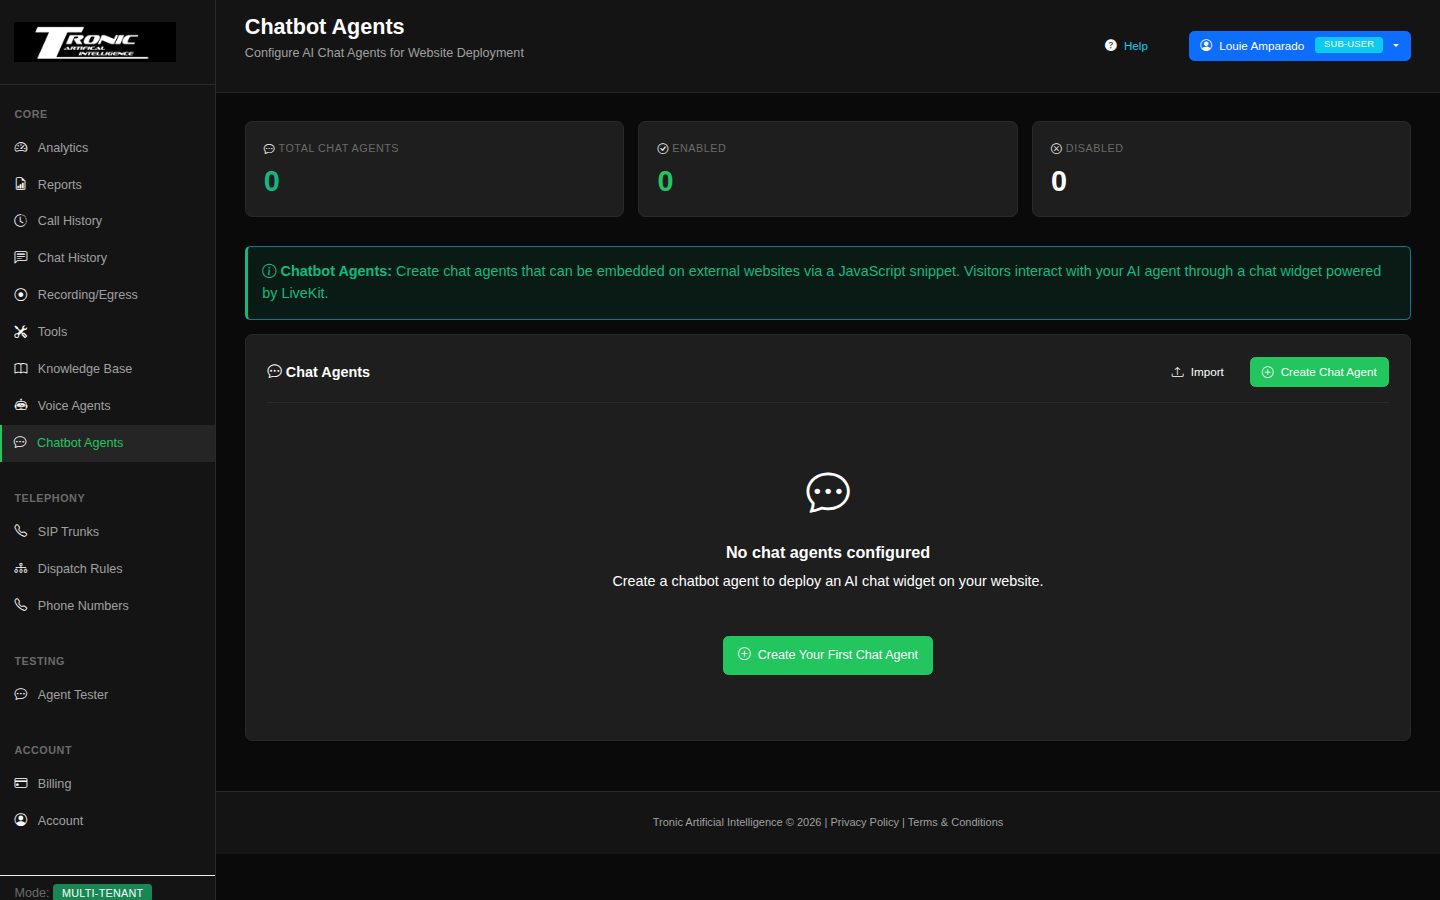
Chatbot Agents
Text-based AI chat agents for your website or app.
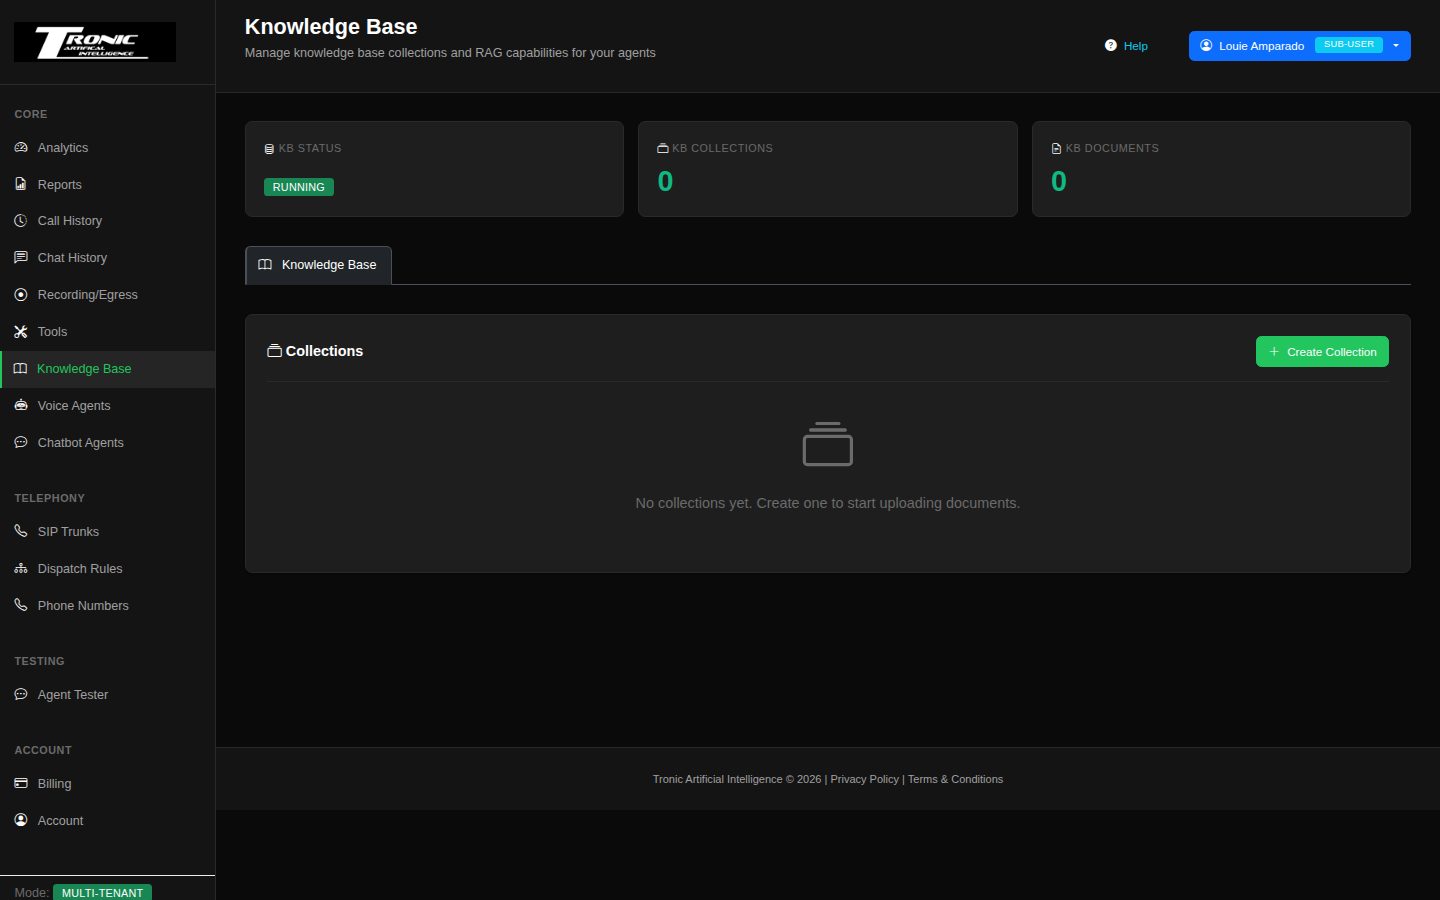
Knowledge Base
Give your agent documents to answer from (prices, policies, FAQs).
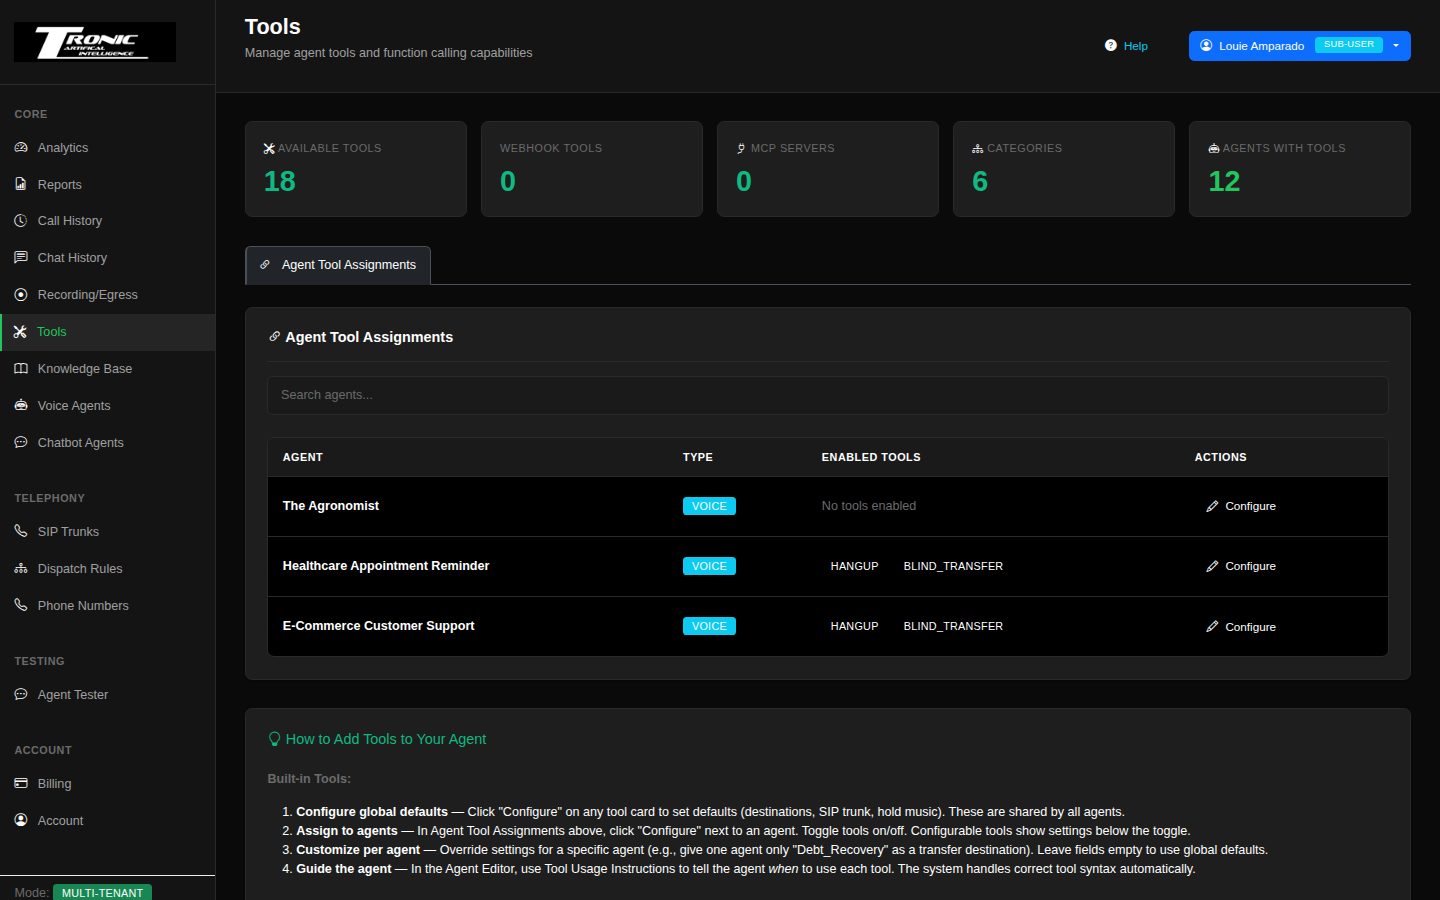
Tools
Connect your agent to outside systems — bookings, lookups, webhooks.
Phone Numbers
See the number(s) connected to your account.
Dispatch Rules
The routing that decides which agent answers which number.
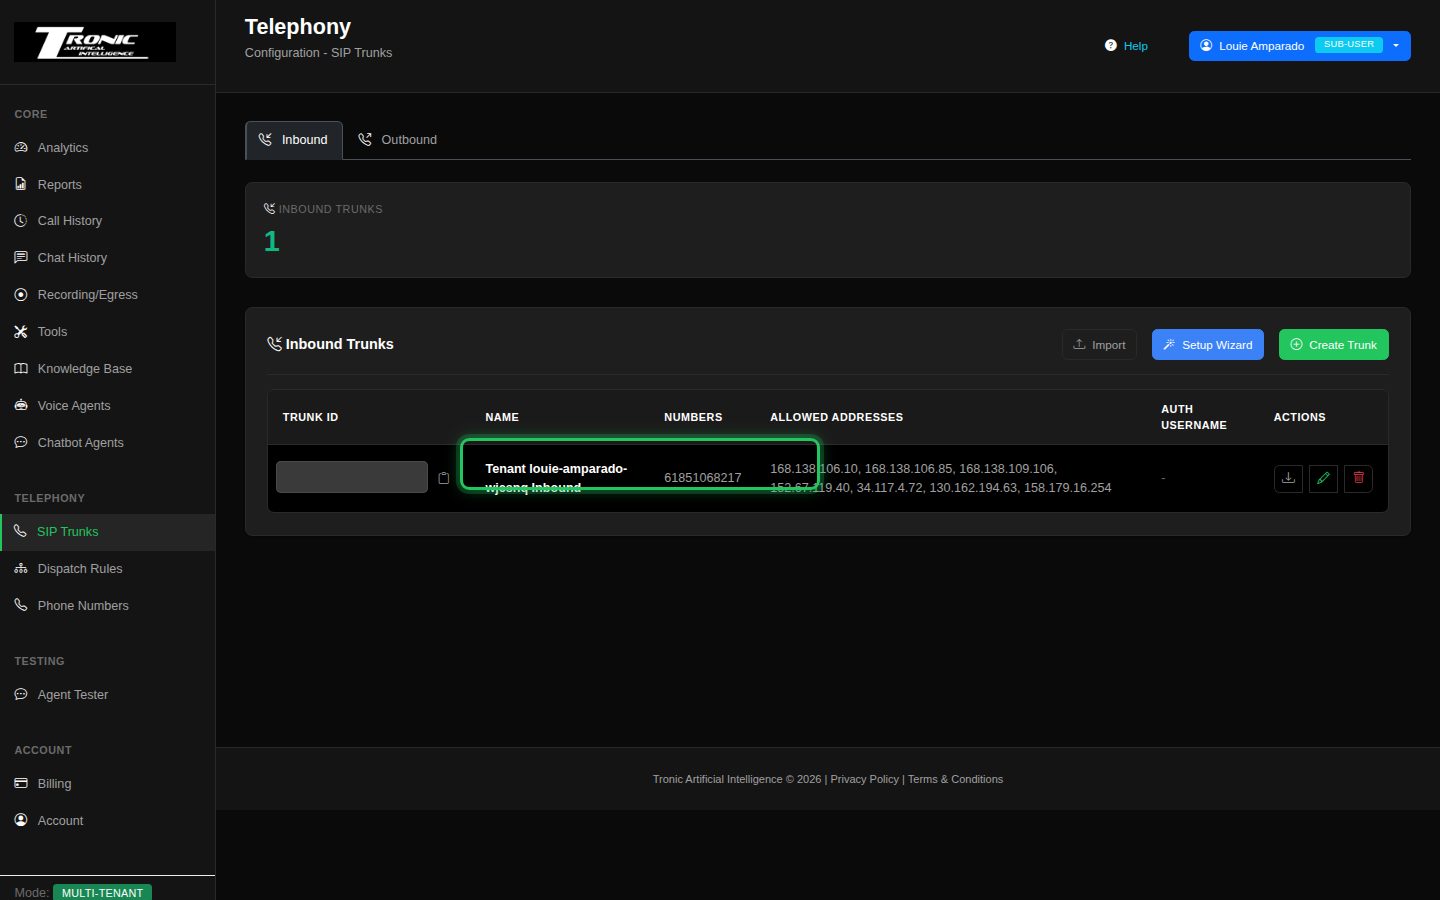
SIP Trunks
The carrier connection your calls travel over (set up for you already).
Agent Tester
Talk or type to your agent in the browser before it goes live.
Call History
Every call, with duration, cost, summary, transcript and recording.
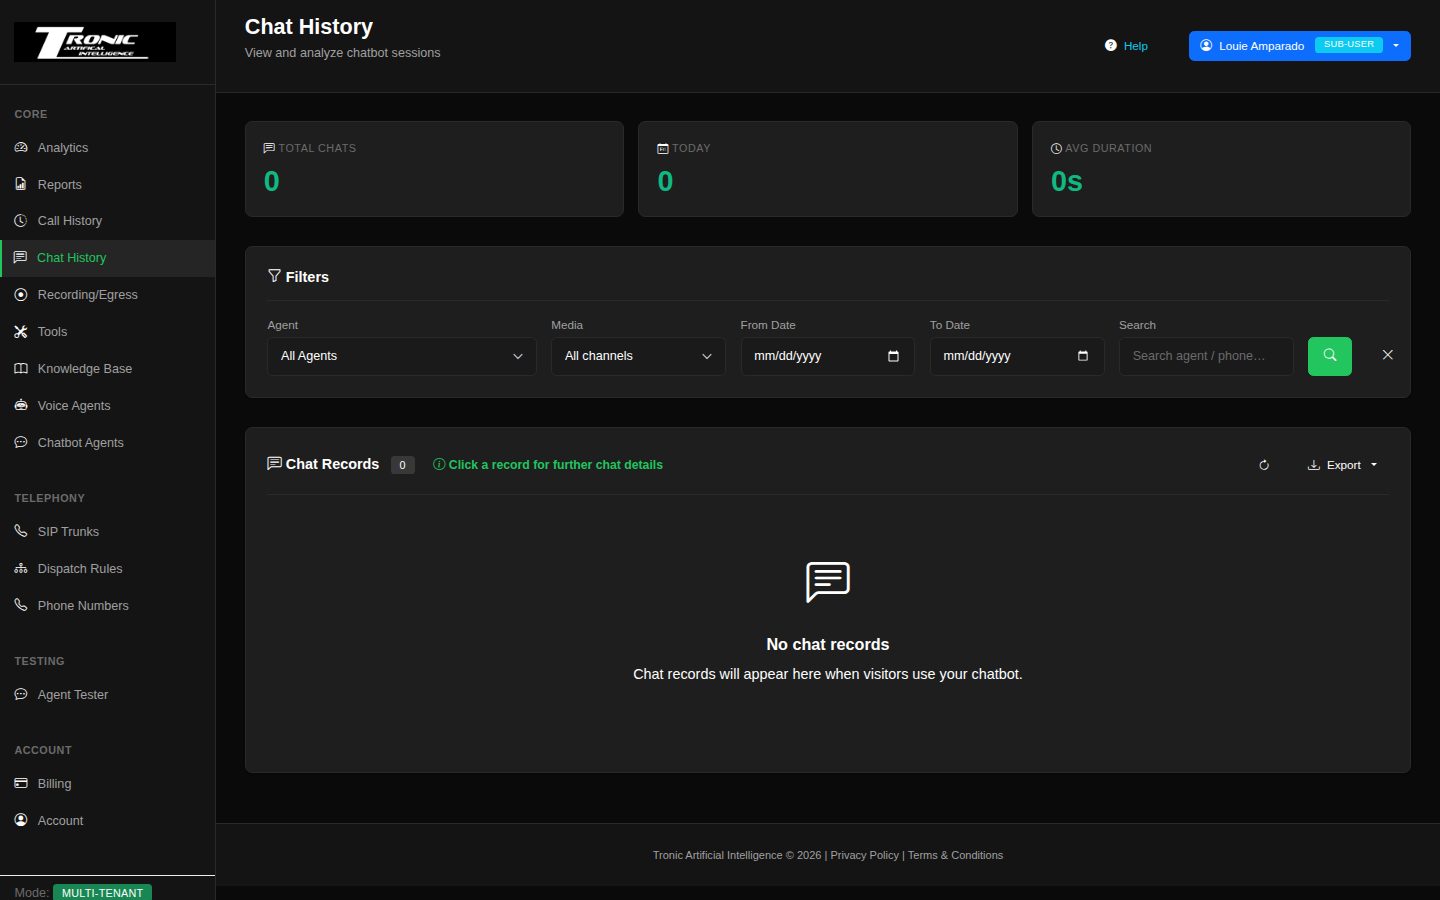
Chat History
Conversations handled by your web chat agents.
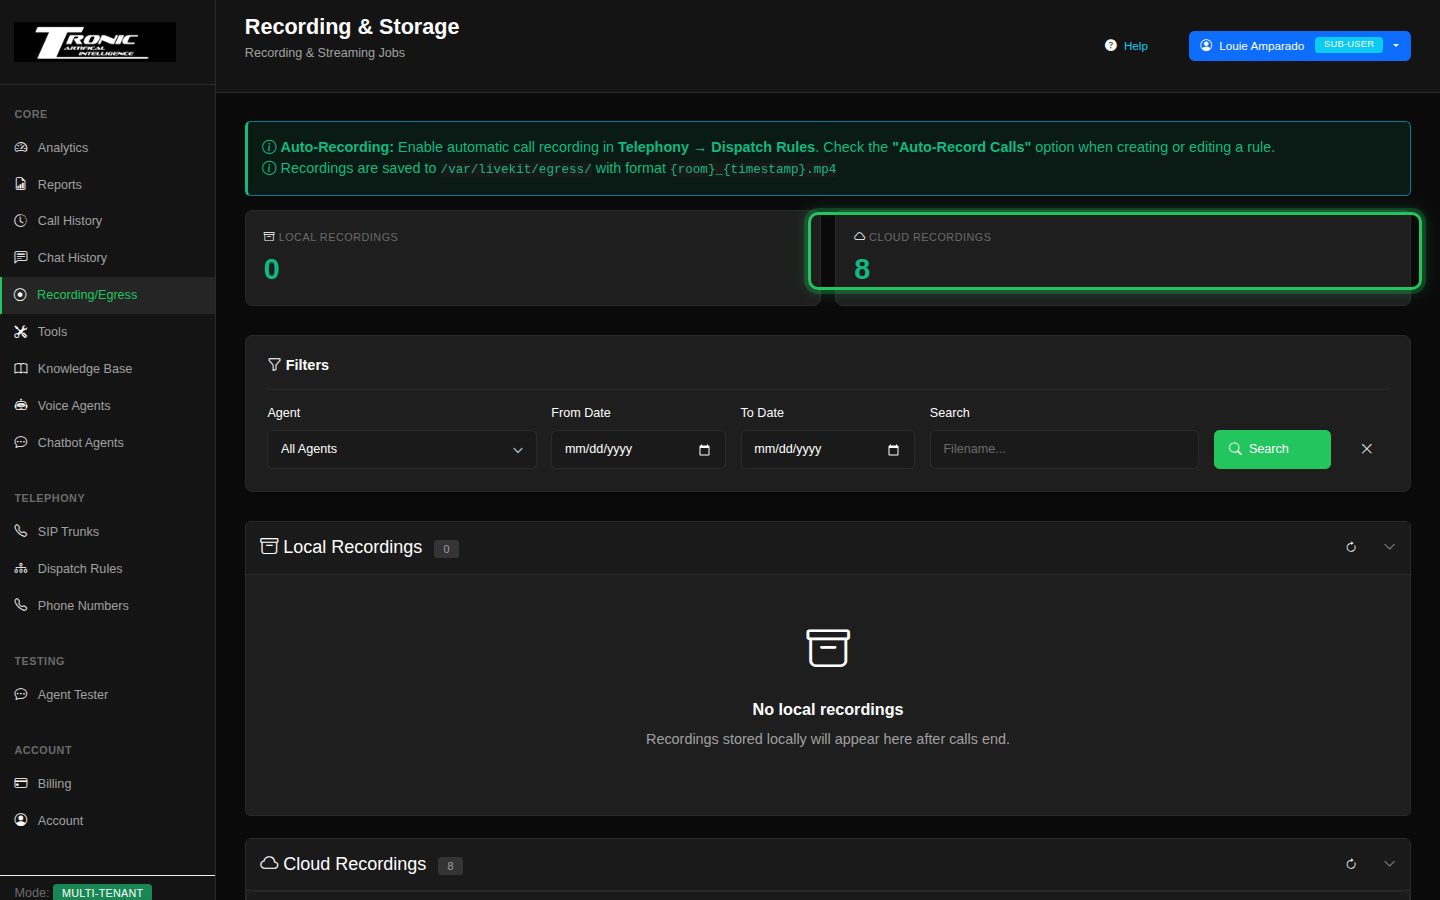
Recording / Egress
Download and manage call recordings.
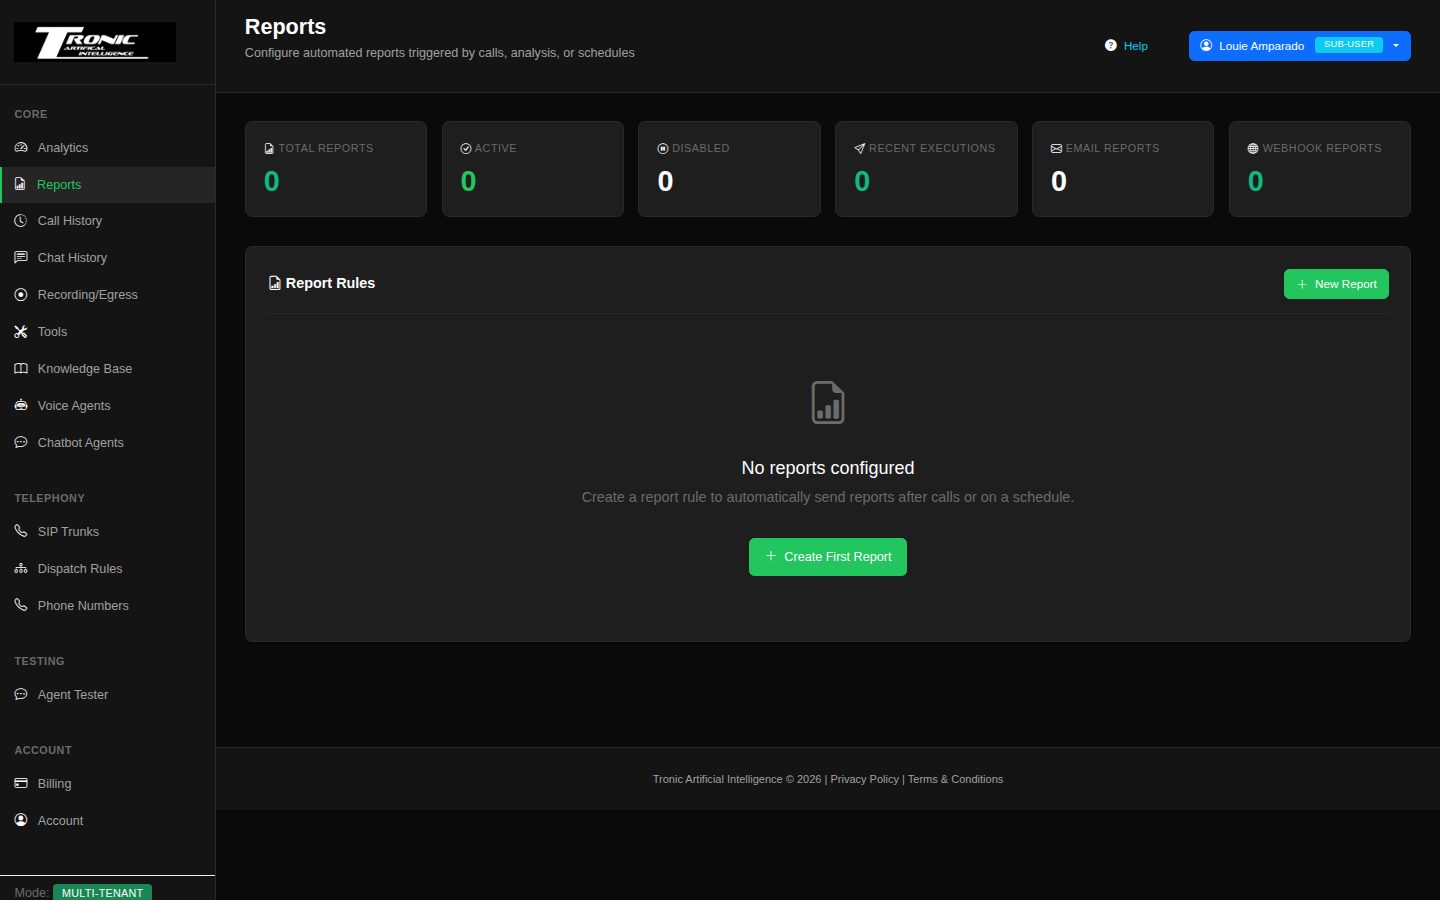
Reports
Schedule automated email summaries of your call activity.
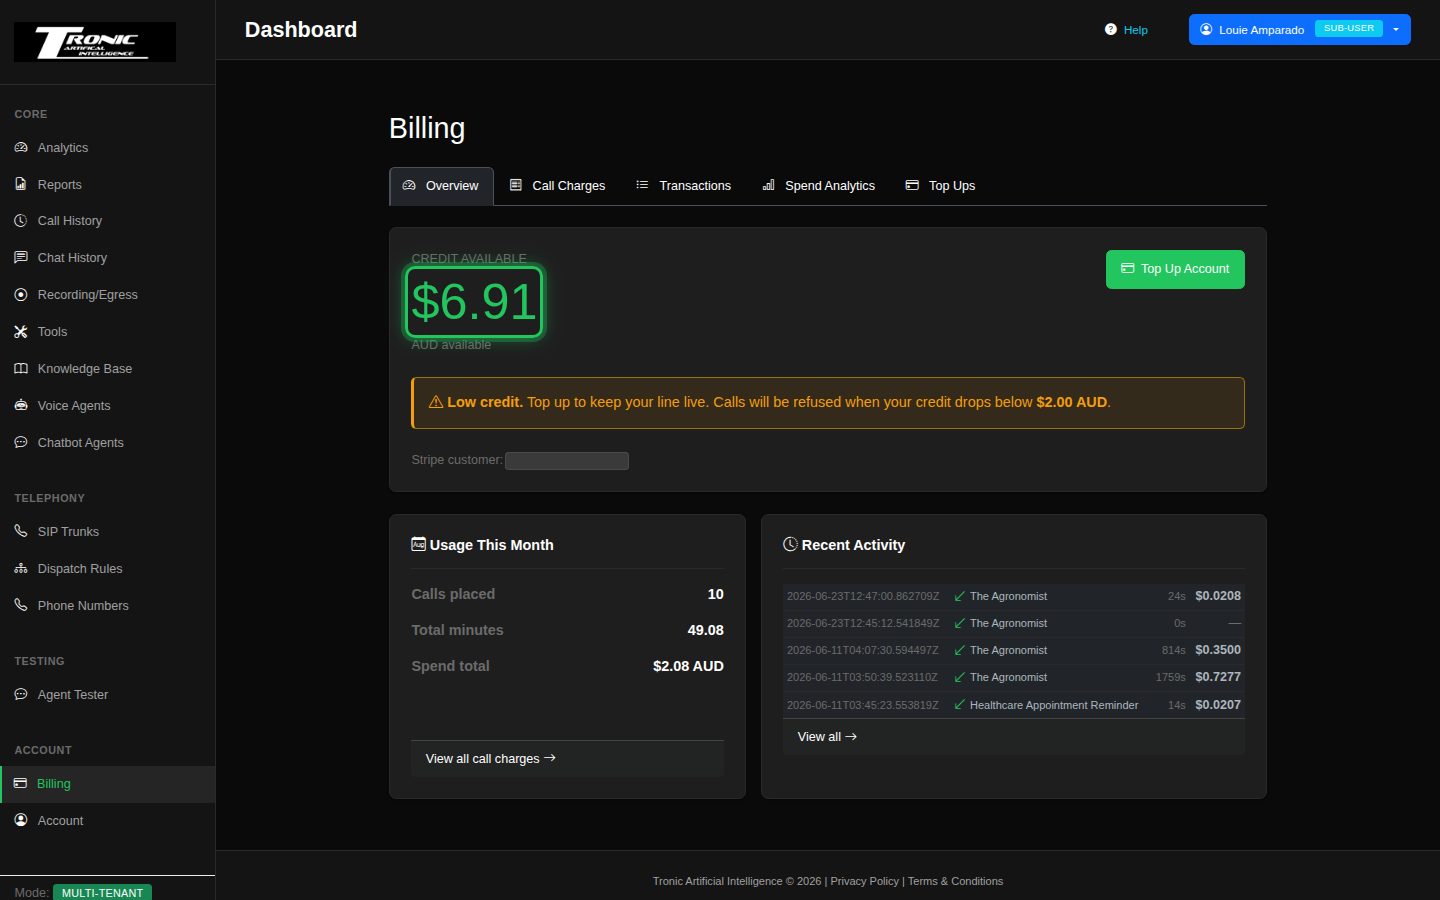
Billing Overview
Your balance, recent activity and low-balance warnings.
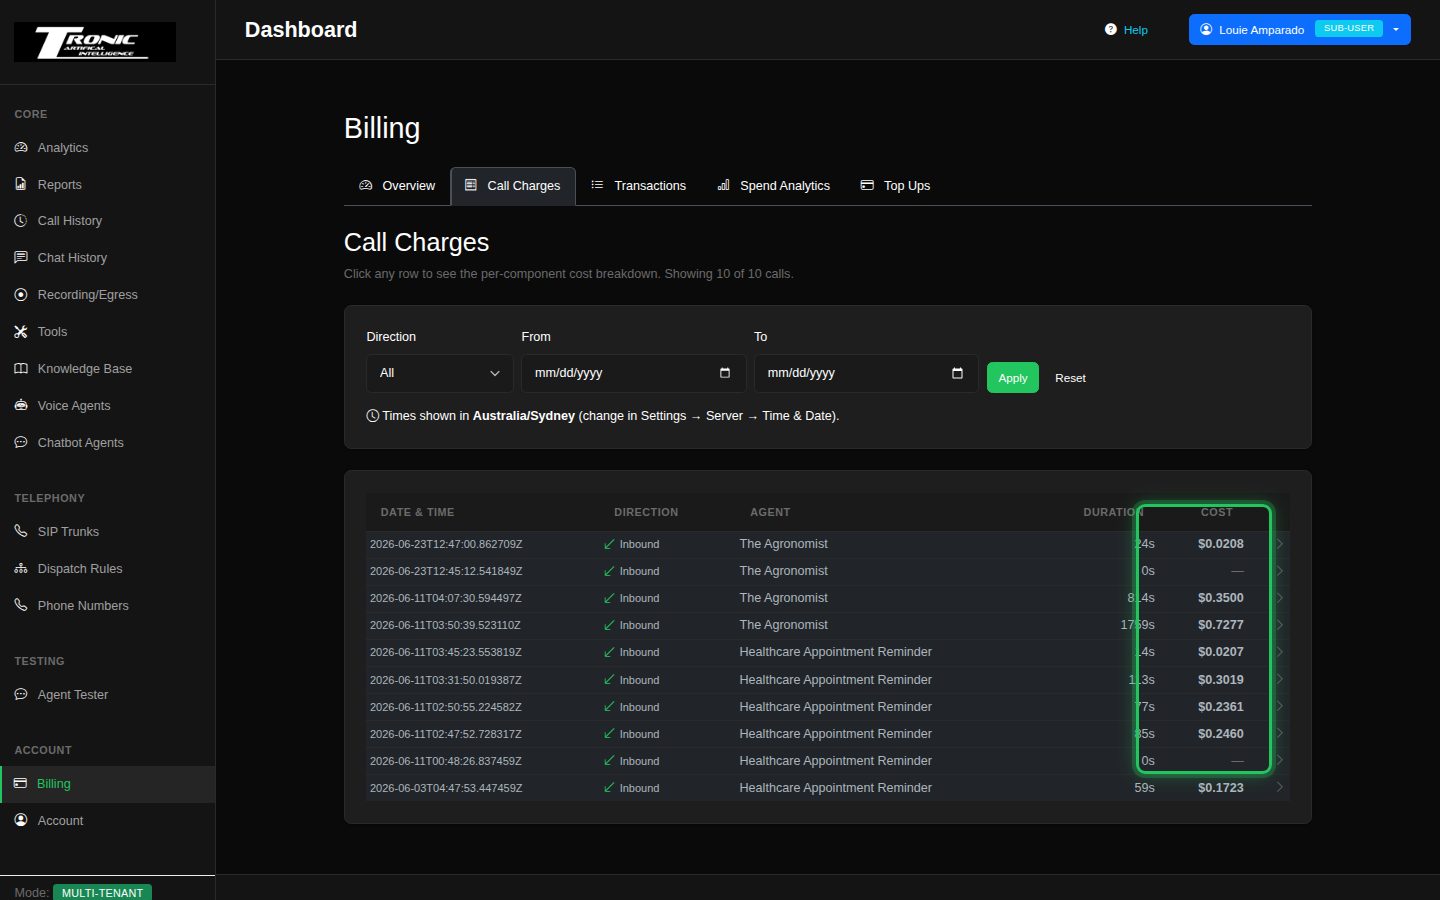
Call Charges
An itemised cost breakdown for each call.
Transactions
Your payment and charge history.

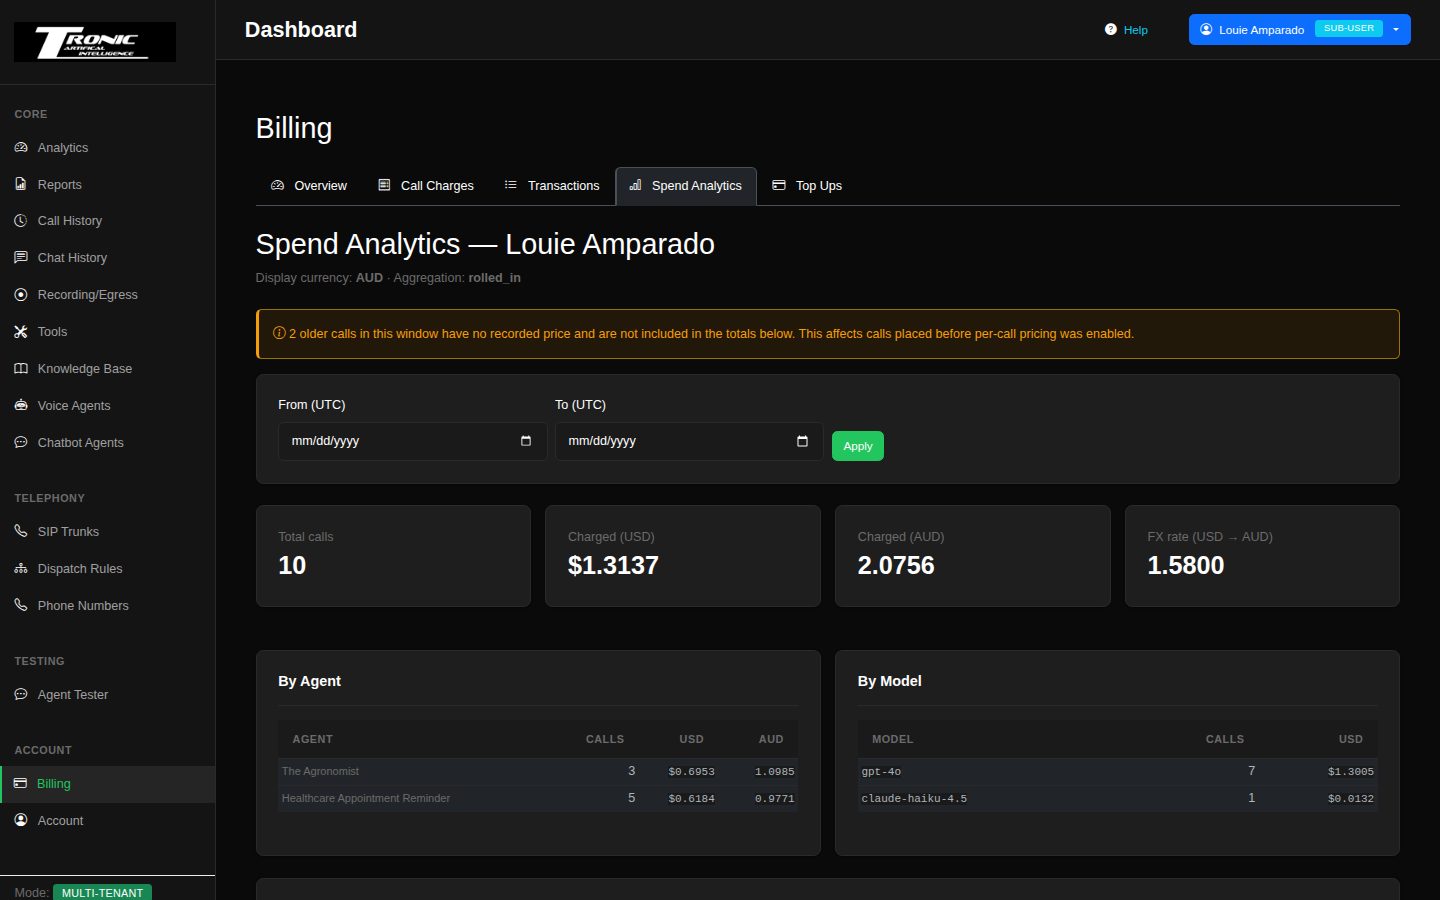
Spend Analytics
Where your spend goes — by agent and by model.
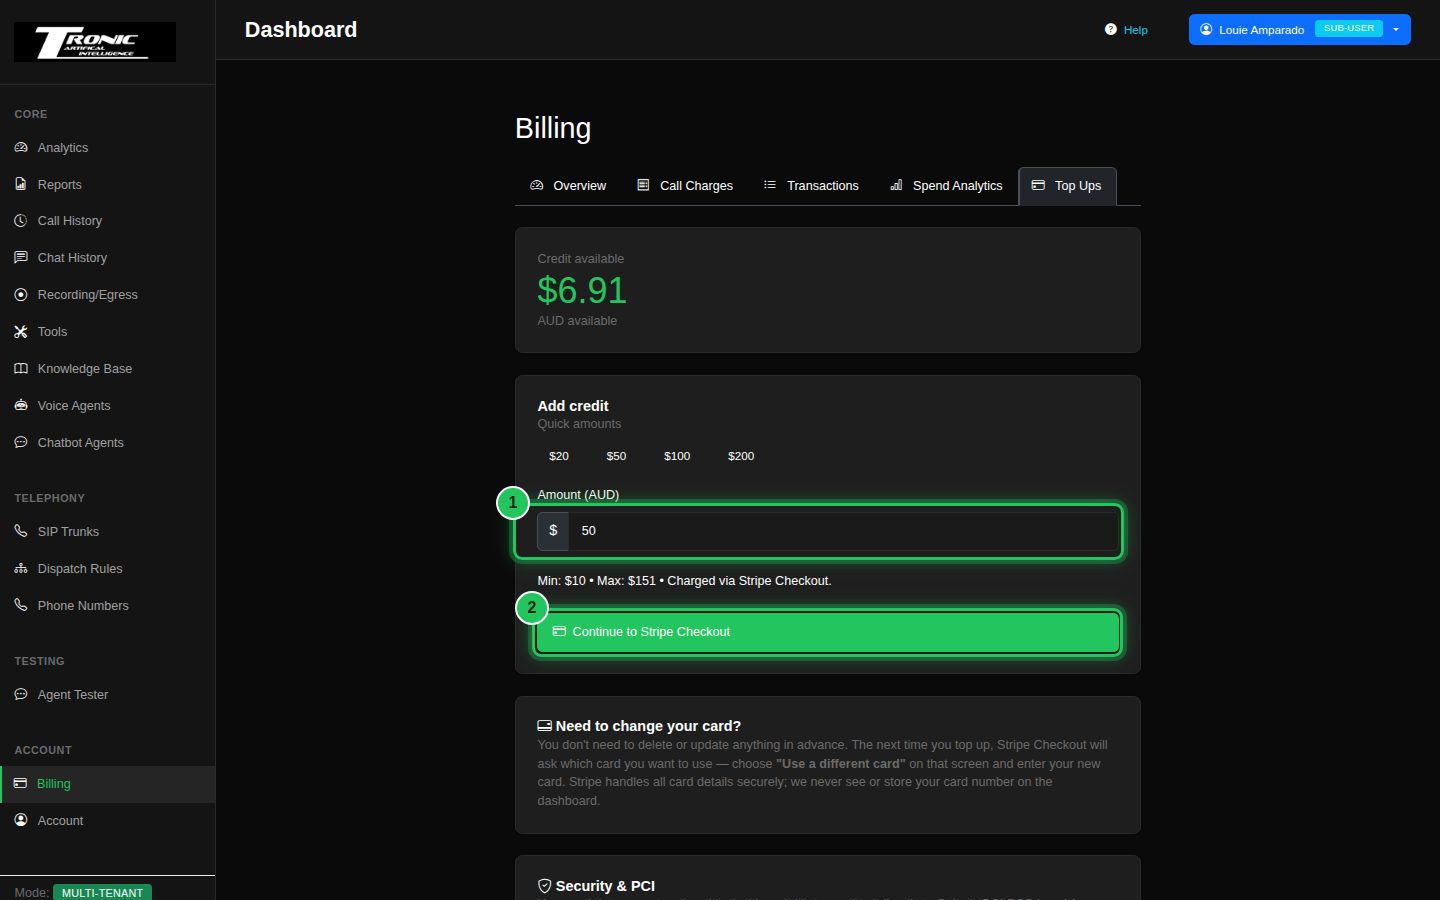
Top Up Balance
Add credit securely by card.
$ Add credit
Open Billing › Top Ups, enter an amount and pay by card through our secure checkout. Your balance updates automatically.
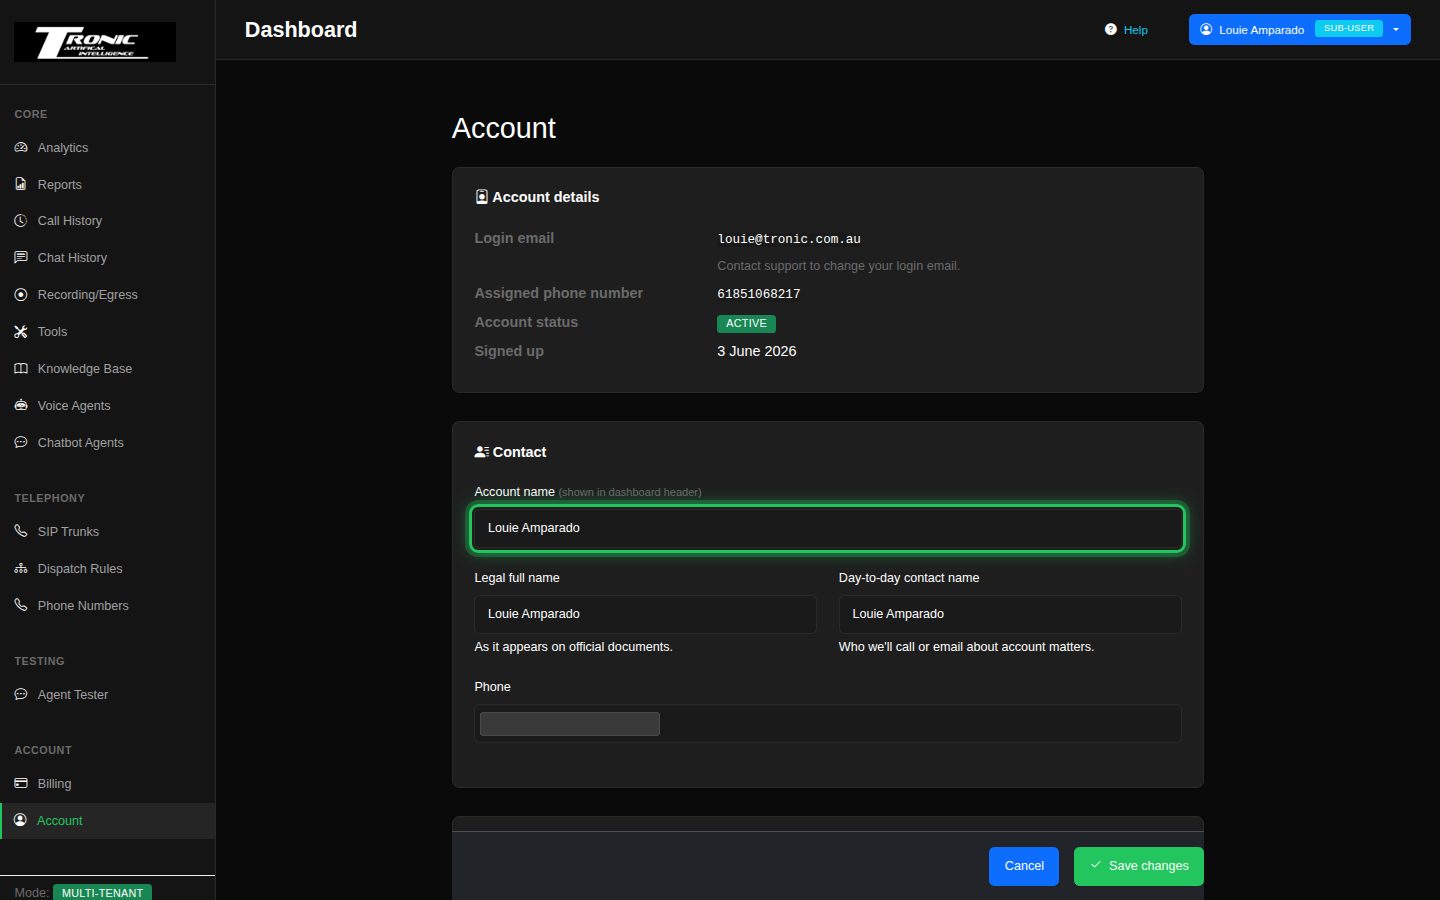
Account Settings
Your company details and contact information.